This potentially could have been my most inspired moment of the entire build!
With the rear down and located, the exhaust tail was slightly off centre, not that noticeable but yet another one of those things that annoyed the hell out of me. The solution.........well, I could extend the tail section (pre the 90 degree bend) by an inch...hummm, yes......or, I could add another exhaust. Never one to take the easy route out, the twin exhaust (you get the post title now?) was what I decided to do. Another tail section and a 90 degree bend purchased, and some grovelling to the welder, and yes, we have a twin exhaust....and before you ask....yes, it works, it's not fake, we cut out a section in the other exhaust tail section so exhaust gas comes out of both pipes.
It's another one of those things that I think really suits the car....Very pleased
Another 'looks enhancing' item I've been pondering is the stripes. I toyed with a few ideas, but settled on either twin stripes, or one thick and two thin....I think I prefer the latter....decision made.
Arches are complete, light's still need doing, then off to the rollers for a tune up.
Friday, 11 April 2014
Tuesday, 1 April 2014
Moved under it's own steam
Yes, that's right...the J15 drove out of the garage under it's own puff. I meant to video it, but was so excited I forgot. That's not all that's been going on though. I've genuinely been doing allot of thinking / head scratching over the hinging of the rear clam. The decision was made some time ago to forward hinge, but there are so many variables such as; how do I secure the sides, where should the hinges go, how does the rear lock down, how is it going to fit around the exhaust, clear the wheels, etc, etc. best bet was just to bite the bullet, fit the hinges (bought from a local Chandler's) and get on with it.
So, here goes, the story thus far:
First off, the strength of the central tub where it spans the car behind the roll hopes is thin. Again, it's probably ok, but I wanted to be sure that the heavy rear clam would be held securely, so, I fabricated up some brackets with some M6 riv nuts.
These were then bolted to the chassis, and the central tub dropped down on to them...it seems straight forward, but getting the height exactly right was a bit of a pig.
Hinges attached...job done.
Moving onto the sides and rear securing......
Rather than add more catches, I opted to go for some locating lugs...Put simply, they pop in to the rear of sills, and stop the fibreglass springing out when the rear is closed.
Finally, the very rear.....This ended up working really well..using the existing bar that comes with the kit for the rear hinges (if you want to hinge the clam backwards), I simply added some protective plastic 22mm tubing, then made some cut outs in the fibre glass that act as a clip. you get a nice reassuring thud as it all closes.
Finally, to keep this lot down, some spring clips....
Moving on...all the rear lights are fitted (but not wired up yet). Again, I'm pleased with the way it turned out. I ditched the lights that came with the kit, and went for some e marked LED units. They are slightly smaller, but I think they look good with a bit of di-noc to form a surround. Number plate lights x 2 (also LED), and the fog and reverse lights fitted on some simply aluminium brackets....End result looks like this:
If you have been reading this blog, will know about my fight to use the image split rims I refurbished. To do this the arches needed extending. I had a few attempts of home made arches, but alas, could not get it right....So purchased some mini ones!. They are not quite finished yet as they do need tome cutting and bending, but you get the idea. The end result is exactly what I was after, an aggressive stance and an increased track, which should further help the handling...I think it looks rather good if I do say so myself.
Last pics....but it shows the access you get to the engine with the hinges where they are.
Until next time!..........
So, here goes, the story thus far:
First off, the strength of the central tub where it spans the car behind the roll hopes is thin. Again, it's probably ok, but I wanted to be sure that the heavy rear clam would be held securely, so, I fabricated up some brackets with some M6 riv nuts.
These were then bolted to the chassis, and the central tub dropped down on to them...it seems straight forward, but getting the height exactly right was a bit of a pig.
Hinges attached...job done.
Moving onto the sides and rear securing......
Rather than add more catches, I opted to go for some locating lugs...Put simply, they pop in to the rear of sills, and stop the fibreglass springing out when the rear is closed.
Finally, the very rear.....This ended up working really well..using the existing bar that comes with the kit for the rear hinges (if you want to hinge the clam backwards), I simply added some protective plastic 22mm tubing, then made some cut outs in the fibre glass that act as a clip. you get a nice reassuring thud as it all closes.
Finally, to keep this lot down, some spring clips....
Moving on...all the rear lights are fitted (but not wired up yet). Again, I'm pleased with the way it turned out. I ditched the lights that came with the kit, and went for some e marked LED units. They are slightly smaller, but I think they look good with a bit of di-noc to form a surround. Number plate lights x 2 (also LED), and the fog and reverse lights fitted on some simply aluminium brackets....End result looks like this:
If you have been reading this blog, will know about my fight to use the image split rims I refurbished. To do this the arches needed extending. I had a few attempts of home made arches, but alas, could not get it right....So purchased some mini ones!. They are not quite finished yet as they do need tome cutting and bending, but you get the idea. The end result is exactly what I was after, an aggressive stance and an increased track, which should further help the handling...I think it looks rather good if I do say so myself.
Last pics....but it shows the access you get to the engine with the hinges where they are.
Until next time!..........
Sunday, 16 March 2014
Milestone reached - Interior finished.
Without really realising it, I managed to get the car to a point where I could put the central tub on. The side pod panels come back from powder coating looked great, and the passenger seat is now in.
Some important photos for IVA, as the seat belt anchorage points cannot be seen when the seats are in.
A quick shot of the wiring around the battery area, now all secured.
So, onto the interior...lots of carbon as planned, seat belts lap straps in.
Side pods finished...well almost...You will notice a gap between the tub and the side pods, this needs covering as it is exposed to the wheels.
Some important photos for IVA, as the seat belt anchorage points cannot be seen when the seats are in.
A quick shot of the wiring around the battery area, now all secured.
So, onto the interior...lots of carbon as planned, seat belts lap straps in.
Side pods finished...well almost...You will notice a gap between the tub and the side pods, this needs covering as it is exposed to the wheels.
Sunday, 9 March 2014
Shocks - Revisited
Seems to be flavour of the month......the word 'revisited'.
So, back on to the subject of shocks.....Yes, I've changed the perfectly good avo's for no other reason than weight saving. With the ethos of this build focused on weight, having a set of 2.25inch steel shocks peeking at me every time I opened the garage door was just too much for me to take, so a rather nice set of Aluminium gaz golds were ordered. These are 1.9inch, and after getting both sets on the scales (with springs), the weight saving was 3.4kgs.....that's 3.4kgs of unsprung weight saved....not bad. I stayed with spherical bearings rather than rubber bushes as the car will 'hopefully' be spending much of its time on track. The spring rates of 200lbs front and 300lbs rear have also stayed as this seems to be a good set up judging by the experience of other J15 owners.
As mentioned in the last update, the hispec rear callipers have now been fitted, the brake system has been bled, and I had some handbrake adjusters machined up which hold the cables in situe. The brakes feel nice and hard, so let's hope this stays when the car is on the road. One thing I need to keep in the back of my mind is the brake bias bar, which, once set set up to ensure the rears do not lock up before the fronts, needs locking of for iva.
Work continues on the side pod panels, but this is proving to be a long task...probably because panelling is one of my least favourite jobs, and whenever I do get time on the car I'm always looking for something else to do!. I really want to get this done as finishing this is the catalyst for dropping the central tub on, and that of course is the catalyst to getting the rest of the body work on.
Also been playing around with the seat position and belts. With myself in the car I think they are ok with respect to not touching anything.
A pic of the wiring loom connector to the rear clam.
So, back on to the subject of shocks.....Yes, I've changed the perfectly good avo's for no other reason than weight saving. With the ethos of this build focused on weight, having a set of 2.25inch steel shocks peeking at me every time I opened the garage door was just too much for me to take, so a rather nice set of Aluminium gaz golds were ordered. These are 1.9inch, and after getting both sets on the scales (with springs), the weight saving was 3.4kgs.....that's 3.4kgs of unsprung weight saved....not bad. I stayed with spherical bearings rather than rubber bushes as the car will 'hopefully' be spending much of its time on track. The spring rates of 200lbs front and 300lbs rear have also stayed as this seems to be a good set up judging by the experience of other J15 owners.
As mentioned in the last update, the hispec rear callipers have now been fitted, the brake system has been bled, and I had some handbrake adjusters machined up which hold the cables in situe. The brakes feel nice and hard, so let's hope this stays when the car is on the road. One thing I need to keep in the back of my mind is the brake bias bar, which, once set set up to ensure the rears do not lock up before the fronts, needs locking of for iva.
Work continues on the side pod panels, but this is proving to be a long task...probably because panelling is one of my least favourite jobs, and whenever I do get time on the car I'm always looking for something else to do!. I really want to get this done as finishing this is the catalyst for dropping the central tub on, and that of course is the catalyst to getting the rest of the body work on.
Also been playing around with the seat position and belts. With myself in the car I think they are ok with respect to not touching anything.
A pic of the wiring loom connector to the rear clam.
Thursday, 27 February 2014
Rear Brakes - Revisited
It's been a bit of a struggle, but we got there in the end. To fit the Hispec IVA callipers, the uprights needed some minor modification....It's taken far too long, but to be fair to Hispec they did the modification and the callipers now fit perfectly. Basically, they say that the calliper will fit a golf, but actually it doesn't, it has the same hole pcd, but the offset is way out.What this all means is a). I now have plenty of Clearence for 13 inch wheels, b).the handbrake cable has a good un interrupted path. c). nothing is anywhere near the CV boot....All in all, a decent modification.
A few pics of the engine mount and the drop I added to lower the engine. Also shown is the later J15 engine rubbers.
Saturday, 22 February 2014
Sealing the side pods, and redoing bits I'm not happy with.
Things have slowed a little recently, no real reason, but probably because I'm doing jobs I'm not overly interested in......However, they need to be done so tough!.
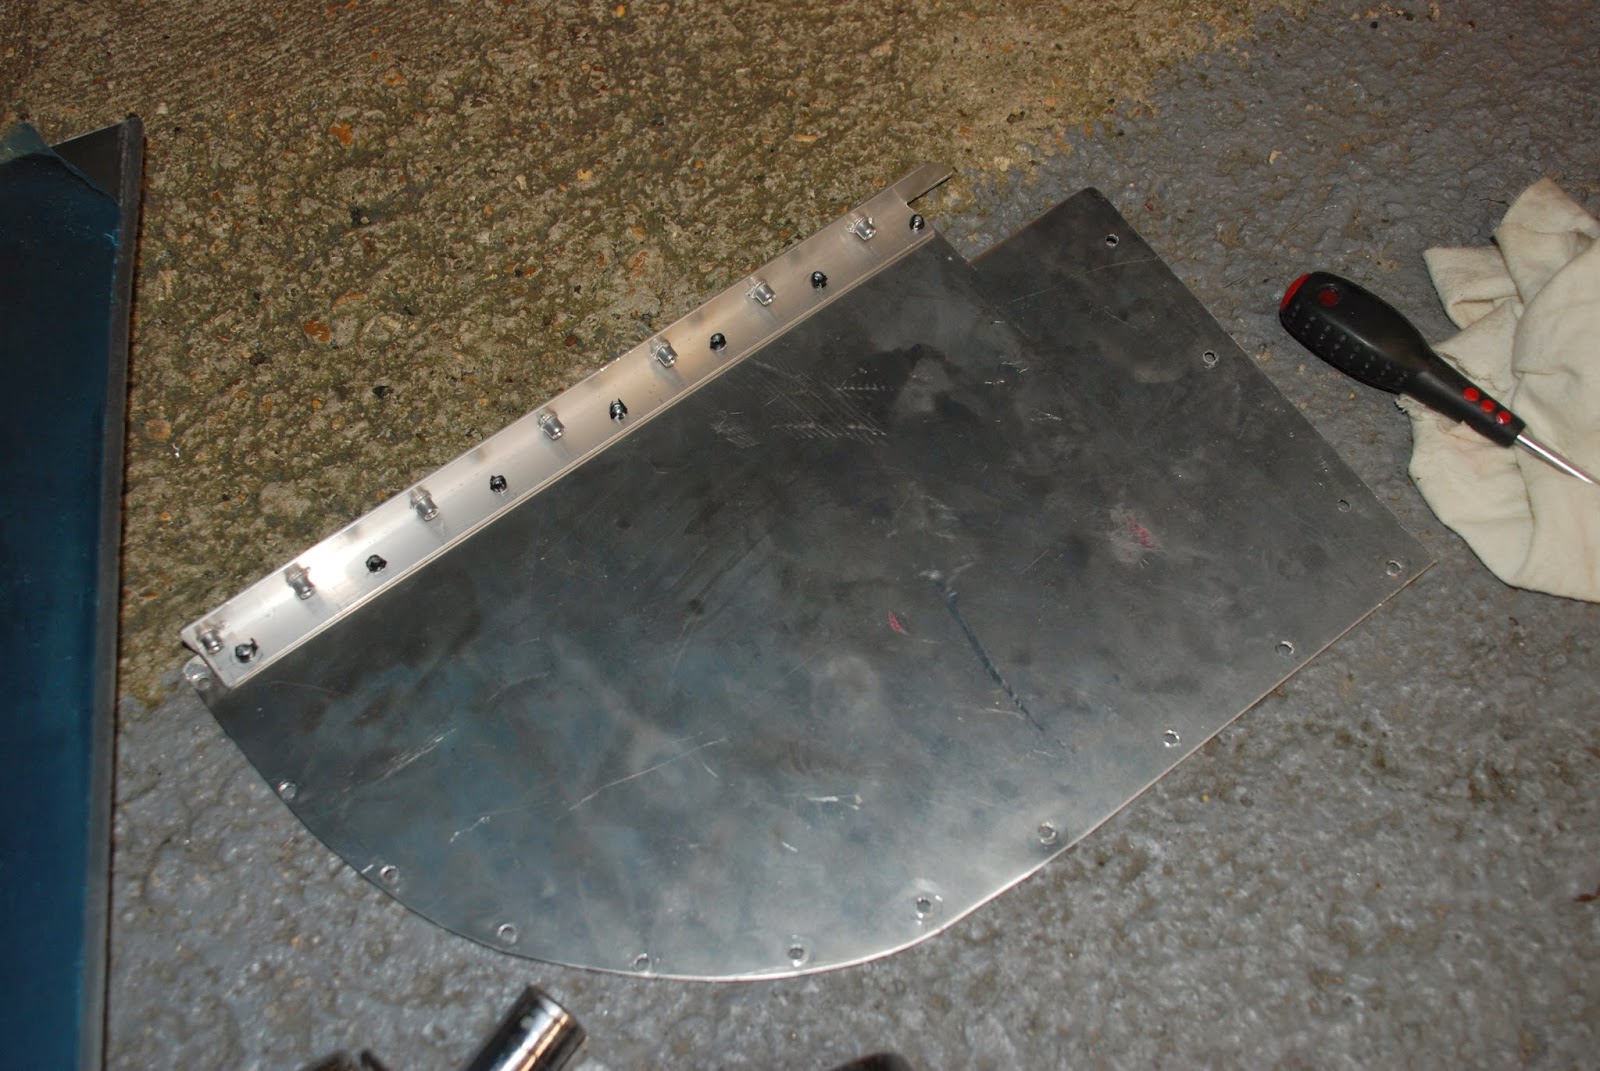
First off are the side pods, or sills.........Most of my electrics reside in this area so it's important that they are protected from the elements. The problem here is of course they sit perfectly in line with the wheels, which of course are very effective water / mud / grime spitting machines. I've started with the basics which means getting as good as possible seal, but more work will be needed creating an actual wheel arch. Meanwhile some alloy fabrication is in progress (this will be powdercoated of course). I liked the look of the older 'riveted' cars, but there's no opportunity on the J15 to get this, so I opted to bolt the panels into the side pod.
I've also been doing....make that 're-doing' jobs that I've not been happy with, one of these was the fuel hoses from the tank. I've neatened them up, I can now look at them without pondering that I could have done them better :-)
What else has been happening.....Ahh yes....trim........interior is all but finished, and I've put the rubber u channel over the seats.
First off are the side pods, or sills.........Most of my electrics reside in this area so it's important that they are protected from the elements. The problem here is of course they sit perfectly in line with the wheels, which of course are very effective water / mud / grime spitting machines. I've started with the basics which means getting as good as possible seal, but more work will be needed creating an actual wheel arch. Meanwhile some alloy fabrication is in progress (this will be powdercoated of course). I liked the look of the older 'riveted' cars, but there's no opportunity on the J15 to get this, so I opted to bolt the panels into the side pod.
I've also been doing....make that 're-doing' jobs that I've not been happy with, one of these was the fuel hoses from the tank. I've neatened them up, I can now look at them without pondering that I could have done them better :-)
What else has been happening.....Ahh yes....trim........interior is all but finished, and I've put the rubber u channel over the seats.
Subscribe to:
Posts (Atom)