Wednesday, 20 February 2013
Dash
Had a pop at the dash this week.......I made a bracket up with a curved edge then grafted on the dash .The dash is actually a westfield dash from playskool and has a nice rounded edge for IVA. I really wanted carbon, but this will be fine for the forseeable future. All put in with rivnuts so it can be removed if required.
Cutting the top wasn't easy but the end result so far looks quite good. I need to now cut around the horrible key barrel and the steering lock
Lots of issues with the position of the handbrake vs the dash, but got there in the end
I've stuck on a print of the dash so I can get an idea of position.
Tuesday, 19 February 2013
Sunday, 10 February 2013
12 volts and hydraulics
Just returned from a very relaxing 4 days at Center parcs. A huge thank you to the amazing people at Naomi House who looked after our little Ollie while mum, me and our eldest were able to get away from the hum drum of everyday life and let our hair down for 4 nights. It was hard leaving Ollie for that long, but we really did need it, the Tracheostomy has meant that neither myself or my wife ever get a night where we are not up at least three times.......The staff at Naomi House (who offer respite for families with disabled children) are simply incredible.
Anyway, batteries recharged, and a battery in the car....thanks to Mark for the loan of a stunt battery so I could make up a bracket.
I thought carefully about where to position it, the obvious place is just behind the rear bulk head behind the passenger, but having a think about weight distribution I think it would help to have some weight further over the left hand side of the car and a forward of the driver. The simple logic for this is because the engine is over to the right as is the driver, so anything to off set this I'm guessing will help in my quest to have a rapid track car.
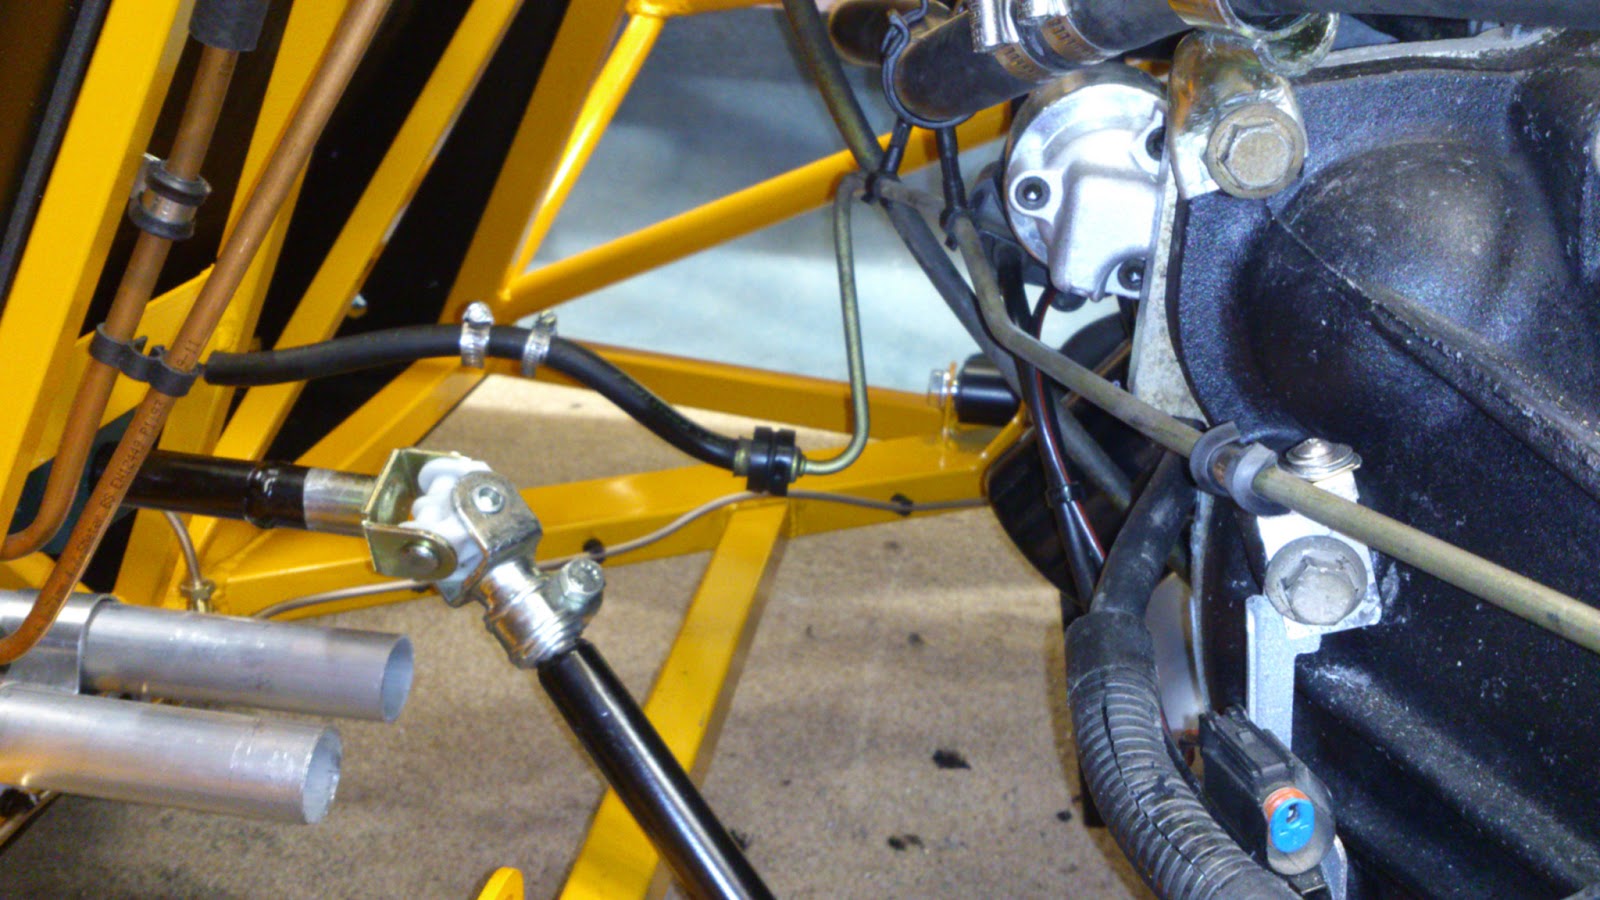
The clutch hydraulics are also almost finished (just need some small hose clips). The connection and the pipe was retained from from the Puma, I reformed this with my trusty pipe bender, and made a small bracket to hold the pipe.
Back to the engine position I mentioned in the last post, You can see here how much I've dropped it.....
.....which has given a little extra clearance for the air filters. As mentioned before, the clearance is far from ideal, but I've tried to make to best of a bad situation...The trade off was always inlet length vs closeness to the rear bulk head.
Finally, and very dull....the fuel tank fittings. I really would like to use the aeroquip connectors, and braided hose all round, but will put this down as a future upgrade.
Anyway, batteries recharged, and a battery in the car....thanks to Mark for the loan of a stunt battery so I could make up a bracket.
I thought carefully about where to position it, the obvious place is just behind the rear bulk head behind the passenger, but having a think about weight distribution I think it would help to have some weight further over the left hand side of the car and a forward of the driver. The simple logic for this is because the engine is over to the right as is the driver, so anything to off set this I'm guessing will help in my quest to have a rapid track car.
The clutch hydraulics are also almost finished (just need some small hose clips). The connection and the pipe was retained from from the Puma, I reformed this with my trusty pipe bender, and made a small bracket to hold the pipe.
Back to the engine position I mentioned in the last post, You can see here how much I've dropped it.....
.....which has given a little extra clearance for the air filters. As mentioned before, the clearance is far from ideal, but I've tried to make to best of a bad situation...The trade off was always inlet length vs closeness to the rear bulk head.
Finally, and very dull....the fuel tank fittings. I really would like to use the aeroquip connectors, and braided hose all round, but will put this down as a future upgrade.
Sunday, 3 February 2013
The engine makes an appearence.....Again!
While still waiting for a lottery win, I need to keep busy without spending money, so the engine went back in. Although I will need to remove it, is was a good opportunity to see if the gear stick resided in the correct place when the handbrake and steering wheel are in situ..Thankfully it does, and reminded me how utterly superb the gear linkage works with the IB5 gearbox. Another interesting snippet I found out recently was that the Puma gear box has closer ratios than the standard fiesta version, which will be nice on track. The Ford Racing Puma came with an LSD, but I'm guessing a gearbox from one of those is as rare as rocking horse doo doo.
Something else that was bothering me was the engine position...Not because there is anything wrong with it, it's just I feel it could be a tad better placed....Why do I think this?. Well, there is a cut out in the bottom of the chassis (you may be able to see it in some of the older pics), the sole purpose is so the gearbox / engine can sit a little lower, and I suspect it was there before Sylva decided to add rubber engine mounts (hence raising the engine higher).......BUT, it doesn't actually do anything, the gearbox sits above it, so actually it has no purpose. The old grey cells were working overtime (again) and a quick picture taken from under the car with the gearbox linkage in place showed a surprising amount of ground clearance. So, If the engine could be lowered a tad it would enable the throttle bodies / air filters to have a little more clearance, and of course lower the centre of gravity (only slightly).
So, with this in mind, I lowered the engine down an additional 15mm simply by adding spacers between the top engine mounts and the engine....Simples, and had the desired result.
The exhaust system is really going to be a pain...the Stainless manifold that I purchased with car is rather nice and was a reasonable price, but getting the silencer hanging out of the gap at the bottom of the rear clam is not going to be easy as the whole thing hinges rearwards. There is an option of hinging it forwards which would give more room, but having seen a few pics of other builds, it all looks like a convoluted affair. It's a shame because I could imagine this car with a nice twin exhaust like an Elise, but alas I doubt this will work. But I am exploring this solution at the moment (more about this next time).
Finally, to finish off, a couple of shots of the rear (that should get the blog views up!). It really does look rather nice.........
Saturday, 26 January 2013
4 wheels on my wagon, and i'm just.............
...................etc, etc.
Anyway, I had the rear bearings pressed into the rear upright by the local friendly garage. Makes me laugh when I think I actually lined them up in my vice pondering whether it would be possible to do!....Of course it wasn't unless I could somehow generate the best part of 10 tons of pressure!.
So, bearings pressed in, then the hubs were pressed into the bearing. The kit comes with some decent quality heavy duty ford bearings, and I hope I'll never need to change them as I cant think how they will ever come out.
Of course, rear bearings and hubs in means that the rear uprights and wishbones can be installed, and this of course means I could bolt on the rear wheels, and this of course means the car now has 4 wheels, and this means it can come off the axel stands, and this means I can see no good reason whatsoever not to throw on the front clam, stick my oldest in the driving seat and pretend for 5 mins that the car is actually finished :-)
I'm really liking the colour combination of the blue orange and black.
Of course, all body work is held on with some tape at the mo. I really do need to get the shocks sorted out as I need to do a preliminary alignment of the wheels and suspension. For these it's off to protec who I used for the Westfield, and for the price I think they are probably the best out there. The spring rates on the standard car are 200lbs for the front, and 300lbs for the rear. On my test drive of the demo car I noticed how beautifully composed it felt on the very bumpy and muddy lanes of Lincolnshire. So, in a blatant attempt to ruin the ride for a few extra 10ths on the track I'm going to go higher, probably up another 50lbs allround, but before I order I will consult track developments who set up my westfield for their thoughts.
Anyway, I had the rear bearings pressed into the rear upright by the local friendly garage. Makes me laugh when I think I actually lined them up in my vice pondering whether it would be possible to do!....Of course it wasn't unless I could somehow generate the best part of 10 tons of pressure!.
So, bearings pressed in, then the hubs were pressed into the bearing. The kit comes with some decent quality heavy duty ford bearings, and I hope I'll never need to change them as I cant think how they will ever come out.
Of course, rear bearings and hubs in means that the rear uprights and wishbones can be installed, and this of course means I could bolt on the rear wheels, and this of course means the car now has 4 wheels, and this means it can come off the axel stands, and this means I can see no good reason whatsoever not to throw on the front clam, stick my oldest in the driving seat and pretend for 5 mins that the car is actually finished :-)
I'm really liking the colour combination of the blue orange and black.
Of course, all body work is held on with some tape at the mo. I really do need to get the shocks sorted out as I need to do a preliminary alignment of the wheels and suspension. For these it's off to protec who I used for the Westfield, and for the price I think they are probably the best out there. The spring rates on the standard car are 200lbs for the front, and 300lbs for the rear. On my test drive of the demo car I noticed how beautifully composed it felt on the very bumpy and muddy lanes of Lincolnshire. So, in a blatant attempt to ruin the ride for a few extra 10ths on the track I'm going to go higher, probably up another 50lbs allround, but before I order I will consult track developments who set up my westfield for their thoughts.
Tuesday, 22 January 2013
Brake lines and a change of plan.
The front brake pipes are now fitted. I'm quite please with this as I managed to fit them under the chassis rail. Not a technical revolution of course, but it helps keep the car as clean looking as possible.
Another change of direction for the brake master cylinders. I have been warned they may not fit, but being a stubborn wotsit, I'm determined to make the integral master cylinders fir. I know a few others have done this, so we will see. The issue is not so much with the reservoir, it's the fact that you need to add a level indicator and associated test buttons. Anyway, we will see if this works when I offer up the front clam. As you can see, both front uprights / wishbones are on and once again couldn't resist chucking the wheels on in an attempt to make it look more like a car!.
Radiator arrived, I would have liked to have a nice trick alloy rad, but at this stage of the build I really do need to think more about IVA rather than all the modifications I plan to do in the future. So, a standard golf mk3 rad it is...Brand new £26 delivered!. not bad.
The steering rack used is a new Escort rack, but I've gone for a quick rack (i.e. 2.4 turns lock to lock)...reason for this was simply from the demo drive I had in Jeremys car... perfect for the road, but I think on track a quicker rack would help.
The dreaded floor went in with it's 200 plus rivets. Actually, it turned out to be one of the easier panels. I used larger head rivets, and can recommend the Clarke oil less rivetgun....fantastic and welcome crimbo present.
Callipers look good :-)
Jumping ahead a little, but until I can afford some of the other major parts like the shocks, ecu, dash, etc...I need to amuse myself....Having been warned on numerous occasions about leaving large fibreglass mouldings in one place (they can deform), I try to move them every few weeks...This time, curiosity got the better of me and couldn't see a good reason not to cut the main tub and fit it (temporarily of course).
The wife was thrilled when I called her in at 8pm in the freezing cold so she could sit in it while I took a photo.
Another change of direction for the brake master cylinders. I have been warned they may not fit, but being a stubborn wotsit, I'm determined to make the integral master cylinders fir. I know a few others have done this, so we will see. The issue is not so much with the reservoir, it's the fact that you need to add a level indicator and associated test buttons. Anyway, we will see if this works when I offer up the front clam. As you can see, both front uprights / wishbones are on and once again couldn't resist chucking the wheels on in an attempt to make it look more like a car!.
Radiator arrived, I would have liked to have a nice trick alloy rad, but at this stage of the build I really do need to think more about IVA rather than all the modifications I plan to do in the future. So, a standard golf mk3 rad it is...Brand new £26 delivered!. not bad.
The steering rack used is a new Escort rack, but I've gone for a quick rack (i.e. 2.4 turns lock to lock)...reason for this was simply from the demo drive I had in Jeremys car... perfect for the road, but I think on track a quicker rack would help.
The dreaded floor went in with it's 200 plus rivets. Actually, it turned out to be one of the easier panels. I used larger head rivets, and can recommend the Clarke oil less rivetgun....fantastic and welcome crimbo present.
Other seat arrived, so a little trimming of the lip, and it slipped in nicely. Also, primed and sprayed up the steering column.....More about the column at a latter date when it comes back from the engineering shop (i.e. my dad).
Jumping ahead a little, but until I can afford some of the other major parts like the shocks, ecu, dash, etc...I need to amuse myself....Having been warned on numerous occasions about leaving large fibreglass mouldings in one place (they can deform), I try to move them every few weeks...This time, curiosity got the better of me and couldn't see a good reason not to cut the main tub and fit it (temporarily of course).
The wife was thrilled when I called her in at 8pm in the freezing cold so she could sit in it while I took a photo.
Monday, 7 January 2013
Pedal box and balance bar
It's been a while since the last update, but that's not to say nothings happened.
I've been having a play with the pedal box, but soon realised (thanks to the locost forum), that I will need to cut a large hole in the pedal box to allow the balance bar adjuster to poke through. Not the end of the world, but wish I would have sussed this before powder coat.
Subscribe to:
Posts (Atom)